Edward's Tech Site this site made with Next.js 13 , see the code HOWTO: Sep 08, 2022 - Hetzner
How to set up a HTML/CSS website with a HTTPS domain on a Debian machine at Hetzner with nginx and certbot
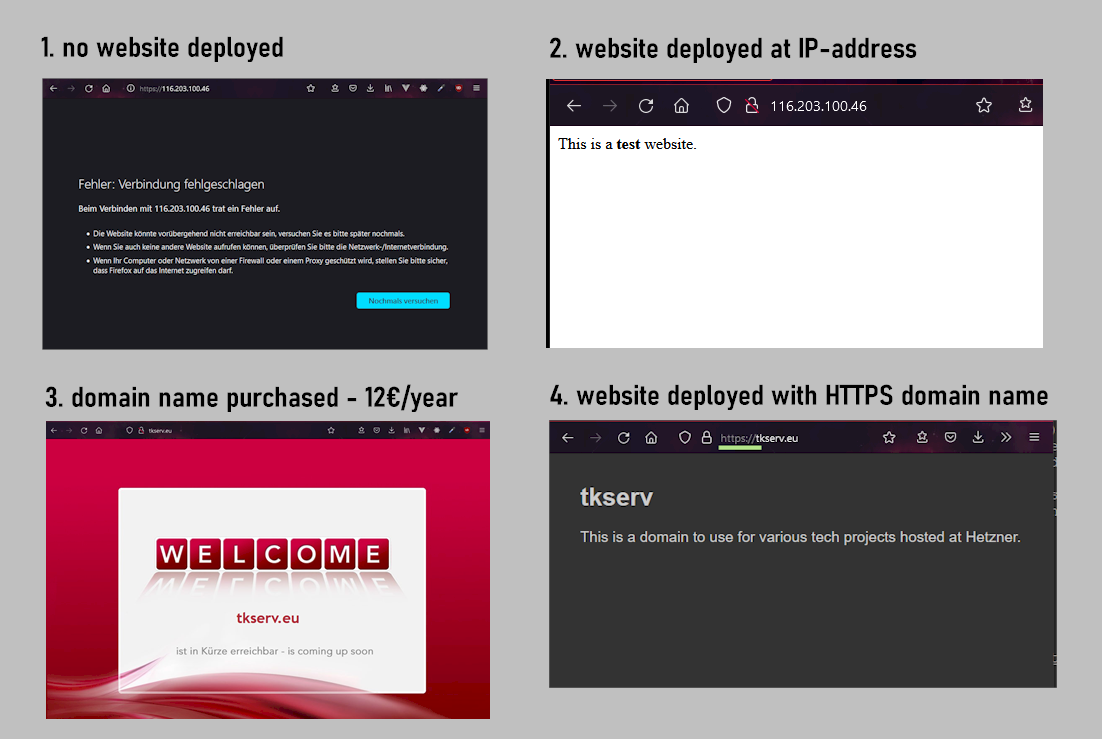
What we will set up at the end of this howto, you will havea Debian machine in the cloud at Hetzner that hosts a HTML/CSS website at e.g. ../yourdomainname.info https://yourdomainname.info the code for this site you will develop and push from your local machine and pull from the Debian server in order to deploy it live How progress will look
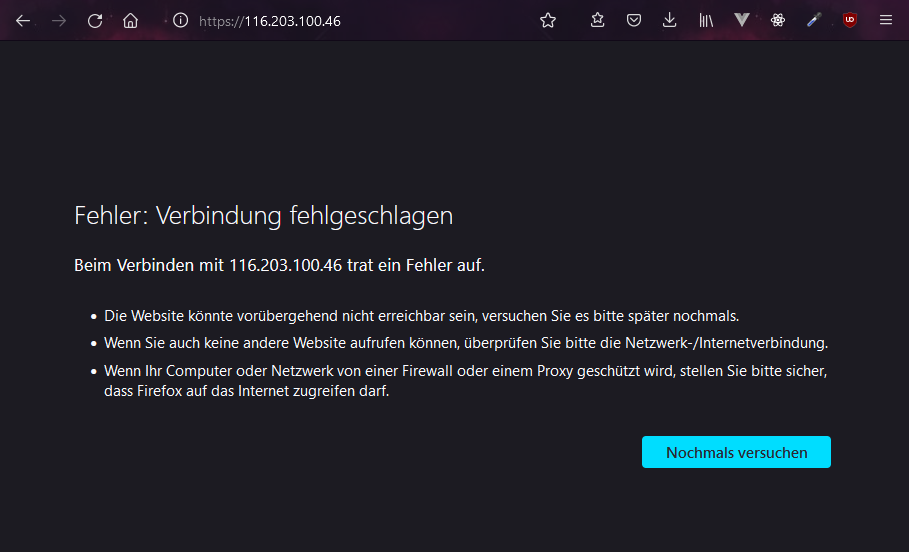
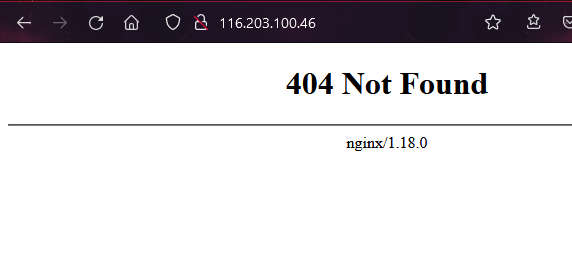
we will start out with no website deployed on our Hetzner Debian machine
using nginx we will deploy a test HTML website to our IP-address URL
we will purchase a domain name of choice at Hetzner for circa 12€/year conveniently included in our monthly Hetzner payments
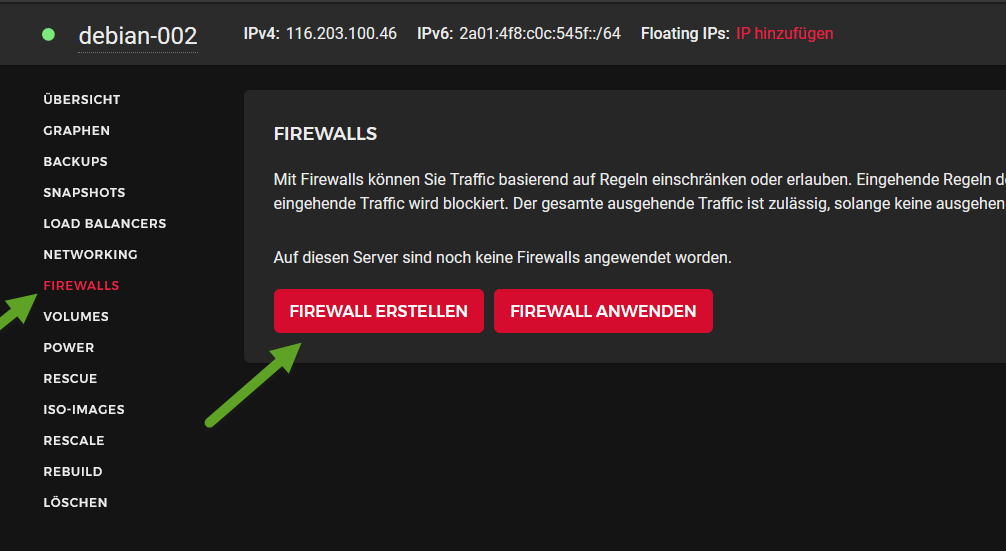
we will develop a site locally, push it to GitHub, pull it from Hetzner, and use certbot to deploy it with HTTPS, then set up a firewall to allow incoming HTTPS traffic
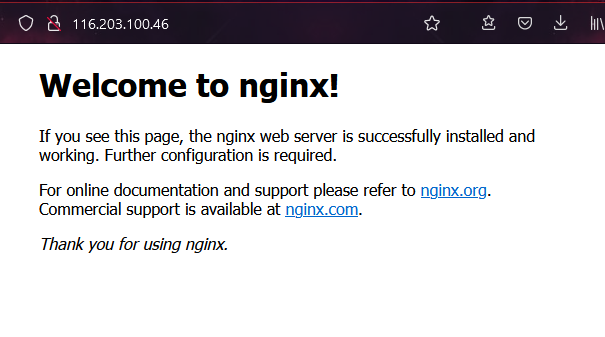
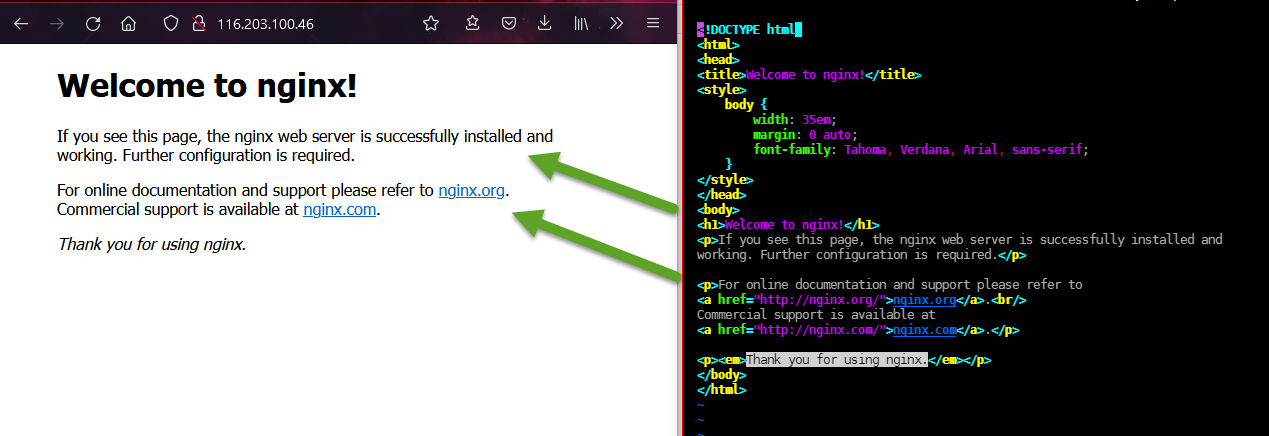
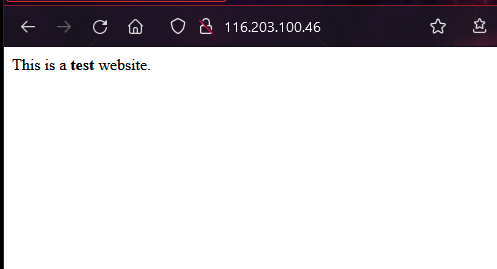
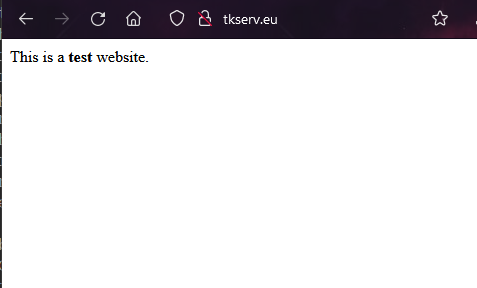
Prerequisites we will start with a newly created Debian server at Hetzner if you don't have a Debian machine running at Hetzner, complete this howto first: How we will set it up we will first install the nginx web server to get a simple HTML site running at ../the-ip-address-of-your-machine http://the-ip-address-of-your-machine note that there are other web servers to install such as Apache and Caddynginx is the most performant Apache has more features Caddy is the easiest to install we will then buy a domain name at Hetzner (e.g. yourdomainname.info) which will be circa 12€ for a year will will configure nginx to serve your HTML site at this domain (e.g. ../yourdomainname.de http://yourdomainname.de in order to secure your connection, we will use the free service certbot (which uses "Let's Encrypt") to convert your http connection to https we will then set up a simple development flow for you to develop locally and deploy on your Debian machineyou will create a simple HTML/CSS site on your local machine, then push it to a private respository at GitHub we will create an SSH key on your Hetzner machine and save it in your GitHub account this will allow you to pull the contents of your GitHub repository to the directory that is being served at your domain address as soon as you pull the code, it will be live finally we will implement a firewall to allow incoming HTTPS traffic Set up Debian server at Hetzner follow this howto to get a Debian server running at Hetzner Get a simple HTML page running without a domain we will now get a site running at ../your-ip-address-of-your-machine http://your-ip-address-of-your-machine go to the ip address of your machine in your browser to show that it is now serving an HTML page this is why we need to install a web server , i.e. in order to serve websites at your IP number via httpsudo apt install nginxreload your browser on your IP URL and you will have a website running: now let's get our own simple HTML file running at this IP URLcreate this file in your home directory ~/projects/mainsite/index.htmlThis is a <b>test</b> website.
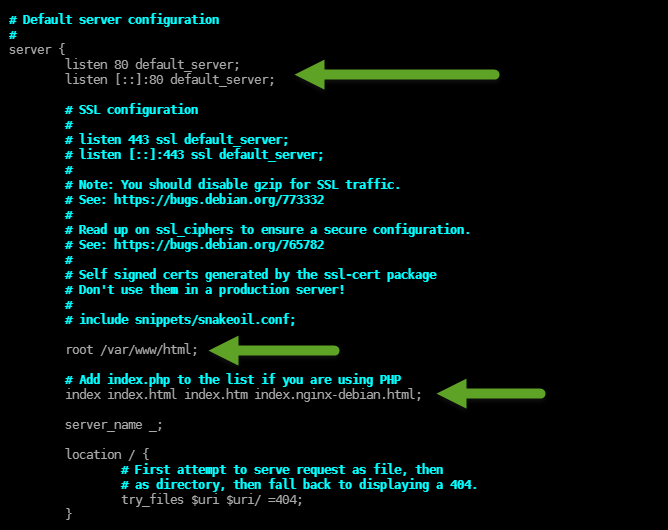
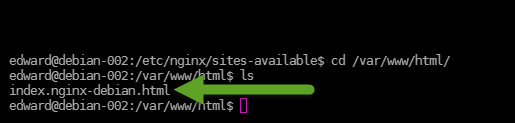
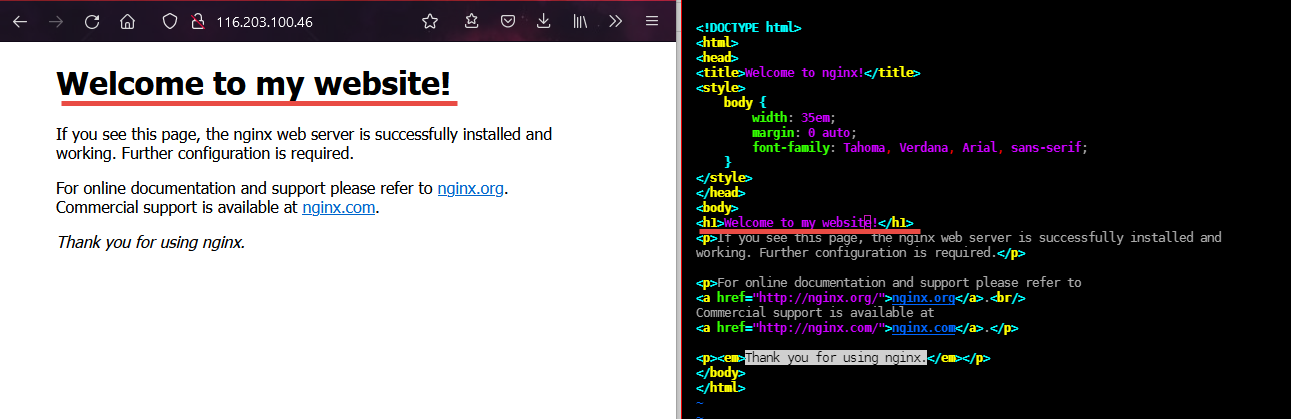
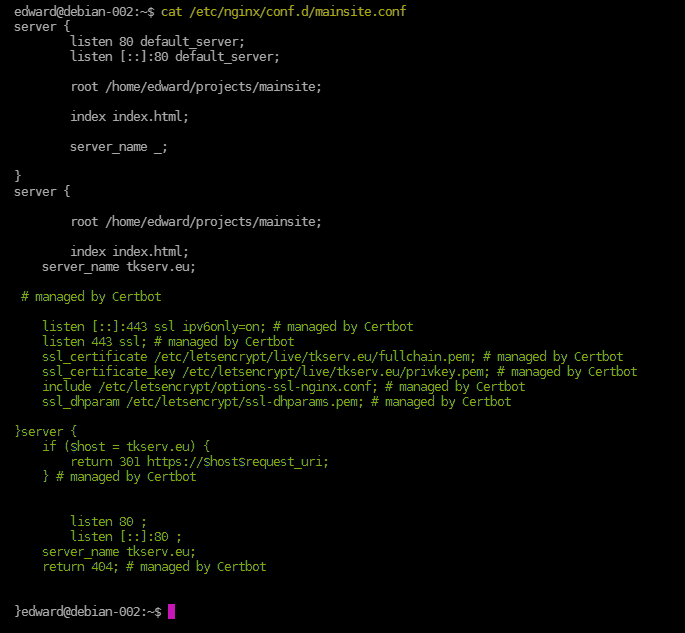
let's first understand where the current site is comingsudo vim /etc/nginx/sites-available/defaulthere you will get some clues where the HTML file is that we are seeing:nginx is listening on the default port 80 the file it is serving is in /var/www/html and it has to be a file called index.html, index.htm, or index.nginx-debian.html etc. so let's go find the filecd /var/www/html and we find let's look in it: sudo vim /index.nginx-debian.htmlwe see that this is the file that is being served: change some text, save, and reload the browser: now let's point our nginx server to our website at ~/projects/mainsitego to the nginx folder: cd /etc/nginx first we are going to delete sites-available and sites-enabled because this approach is apparently deprecated sudo rm -rf sites-availablesudo rm -rf sites-enabledyour site will still work since these files had already been interpreted when nginx started restart nginx sudo systemctl restart nginx and you will see that your site no longer works we will now create a new config file to point to our mainsite test website that we made earliercreate file: /etc/nginx/conf.d/mainsite.confserver {
listen 80 default_server;
listen [;]:80 default_server;
root /home/edward/projects/mainsite;
index index.html;
server_name _;
}
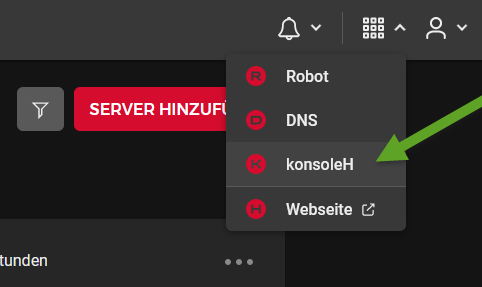
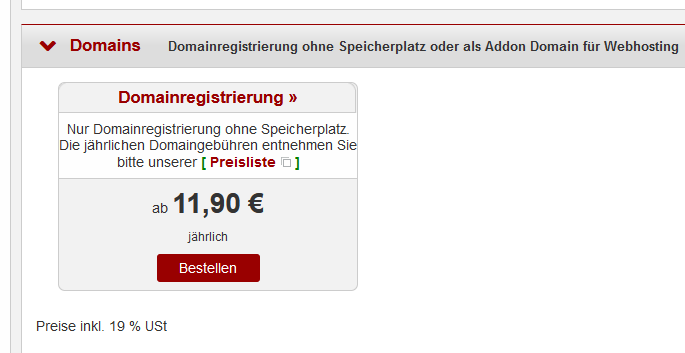
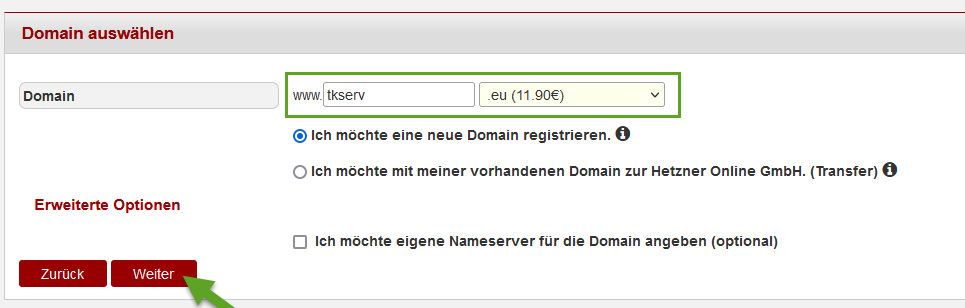
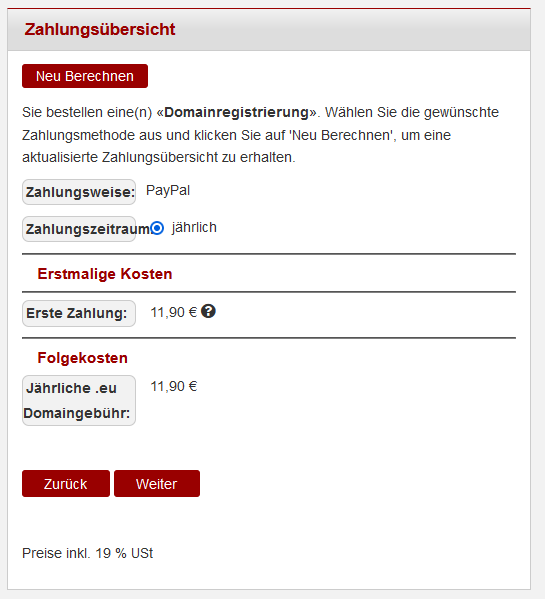
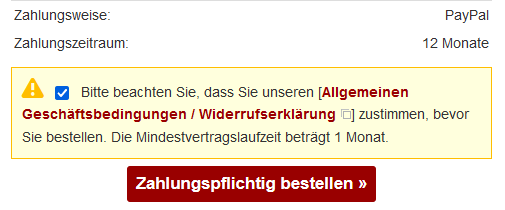
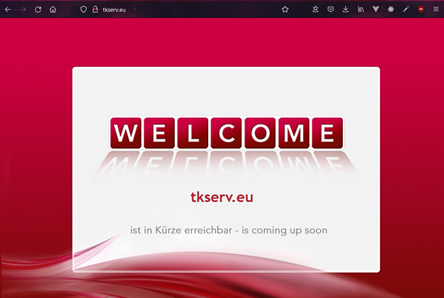
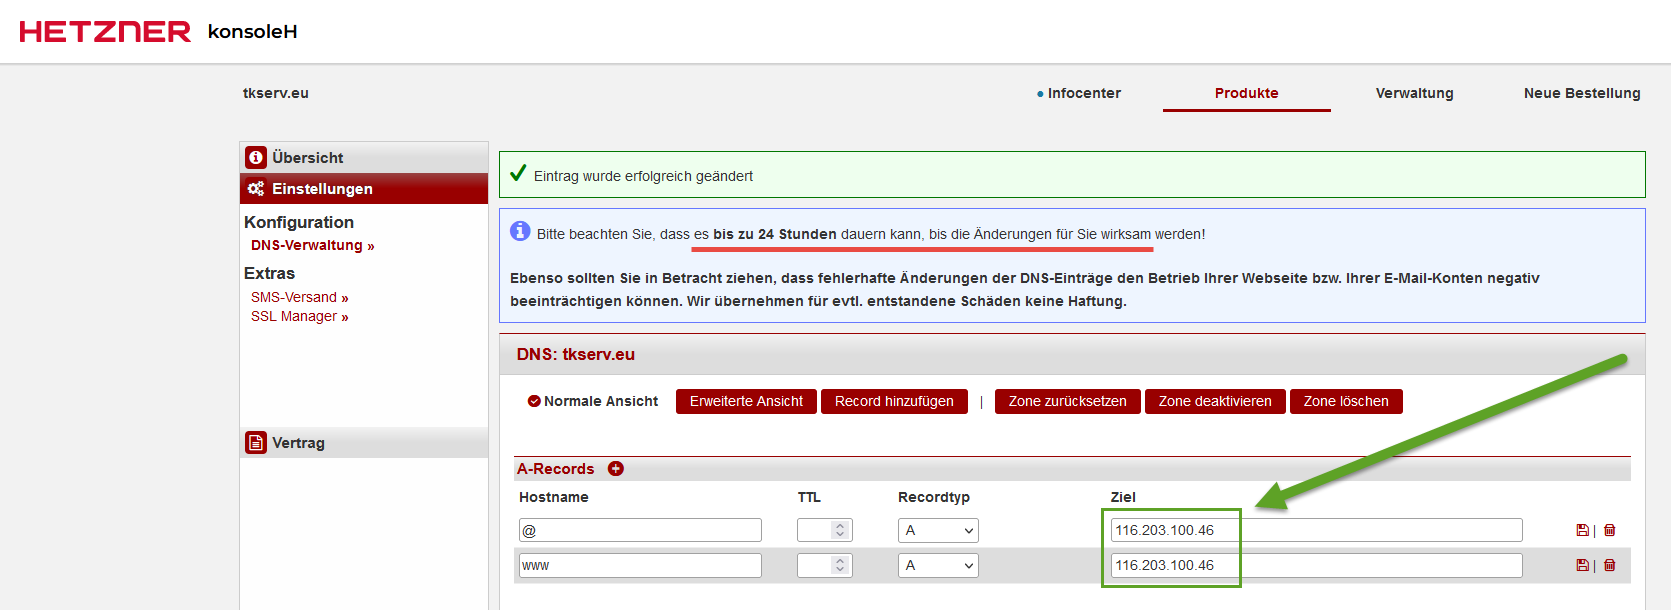
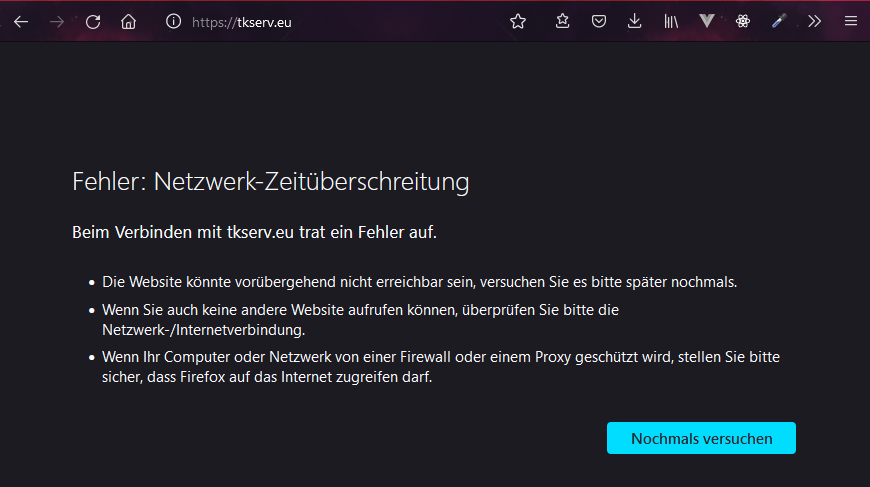
restart the nginx server and you should see your sitesudo systemctl restart nginx Buy a domain name to host this site you can buy and manage domains with other providers (for example domainssaubillig.de where you will find slightly cheaper prices)but ordering domains at Hetzner will enable you to pay for your hosting and domains with one monthly payment in your Hetzner Cloud Console, click on konsoleH click Neue Bestellung scroll down to the bottom to Domainregistrierung and click on Bestellen type in the domain and choose the extension you want, then click Weiter click on Weiter click Zahlungspflichtig bestellen it says everything worked: the email: if you go to your domain, you will see that it has been reserved: point your domain name to your servergo to konsoleH, Einstellungen, DNS-Verwaltung and type in the IP address of your machine under A-Records for @ and www: it will take up to 24 hours to be updated with your refresh the browser page regularly until you see that same site that you see at your IP-address URL in my case it took about two hours until my domain pointed to my machine's IP address: Set up workflow to develop locally and publish on Hetzner machine on your local machine, we will create an HTML/CSS website that we will publish at our domain hosted on our Hetzner machine open a terminal window in your projects directory mkdir tkserv (where tkserv is the name of your domain)open VSCode in that directory: code tkserv create these filesindex.html<!DOCTYPE html>
<html lang="en">
<head>
<meta charset="UTF-8">
<meta name="viewport" content="width=device-width, initial-scale=1.0">
<title>tkserv</title>
<link rel="stylesheet" href="main.css">
</head>
<body>
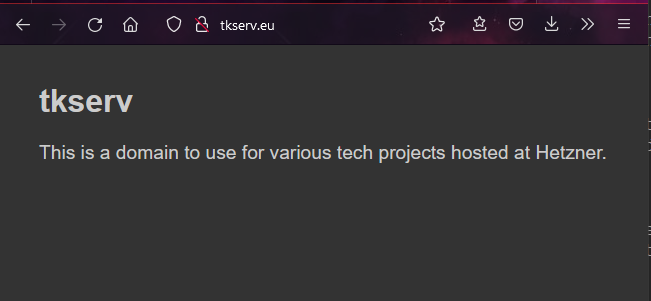
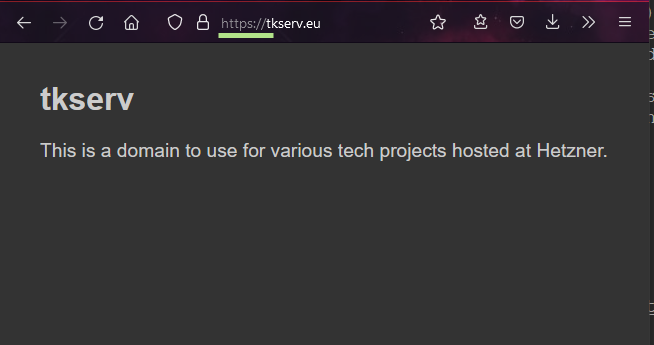
<h1>tkserv</h1>
<p>This is a domain to use for various tech projects hosted at Hetzner.</p>
</body>
</html>
main.cssbody {
background-color: #333;
color: #ccc;
font-family: sans-serif;
padding: .5rem 2rem;
}
p {
font-size: 1.2rem;
}
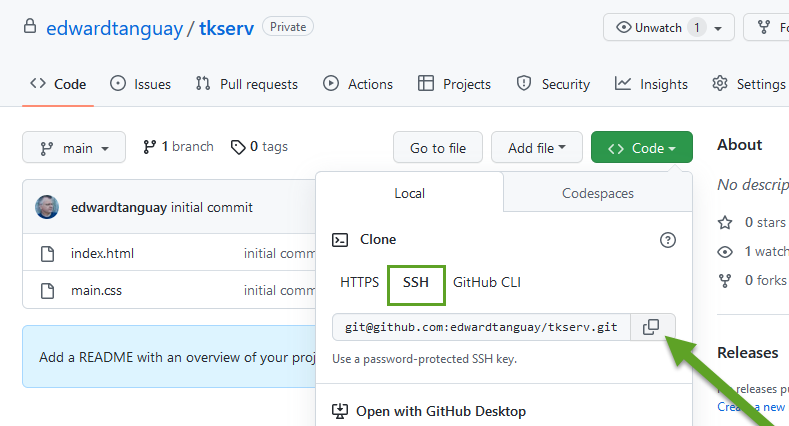
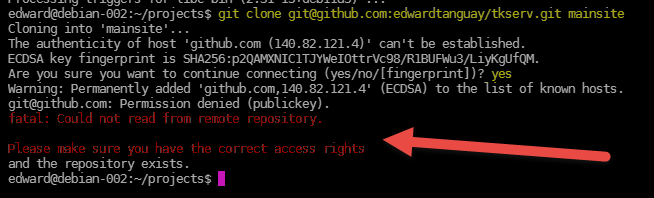
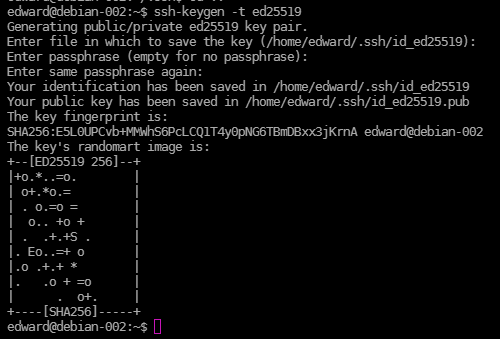
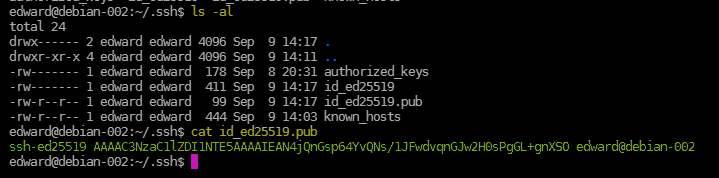
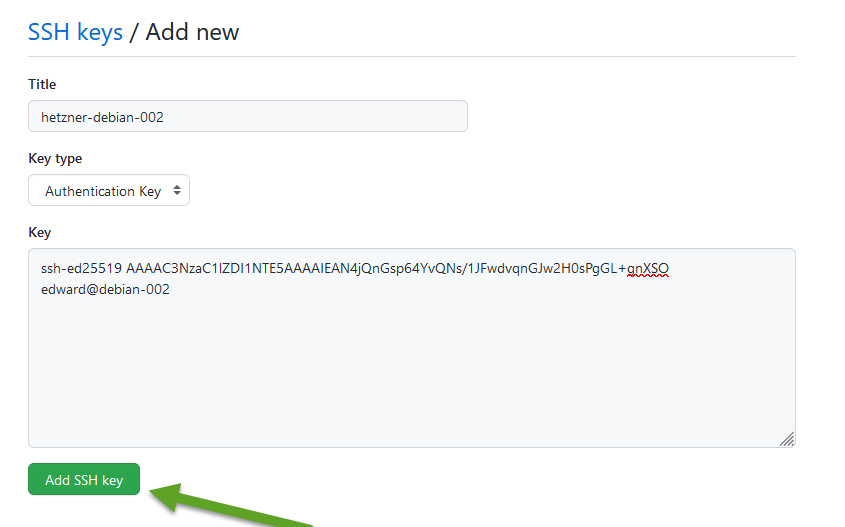
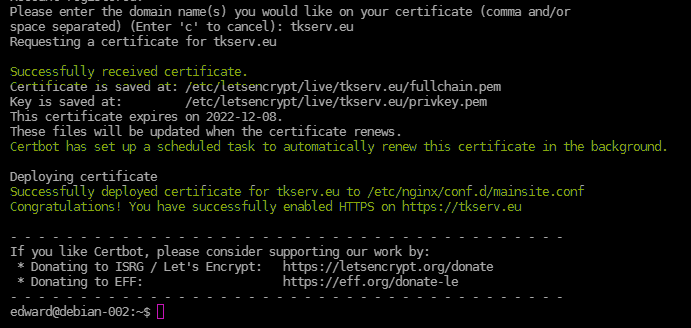
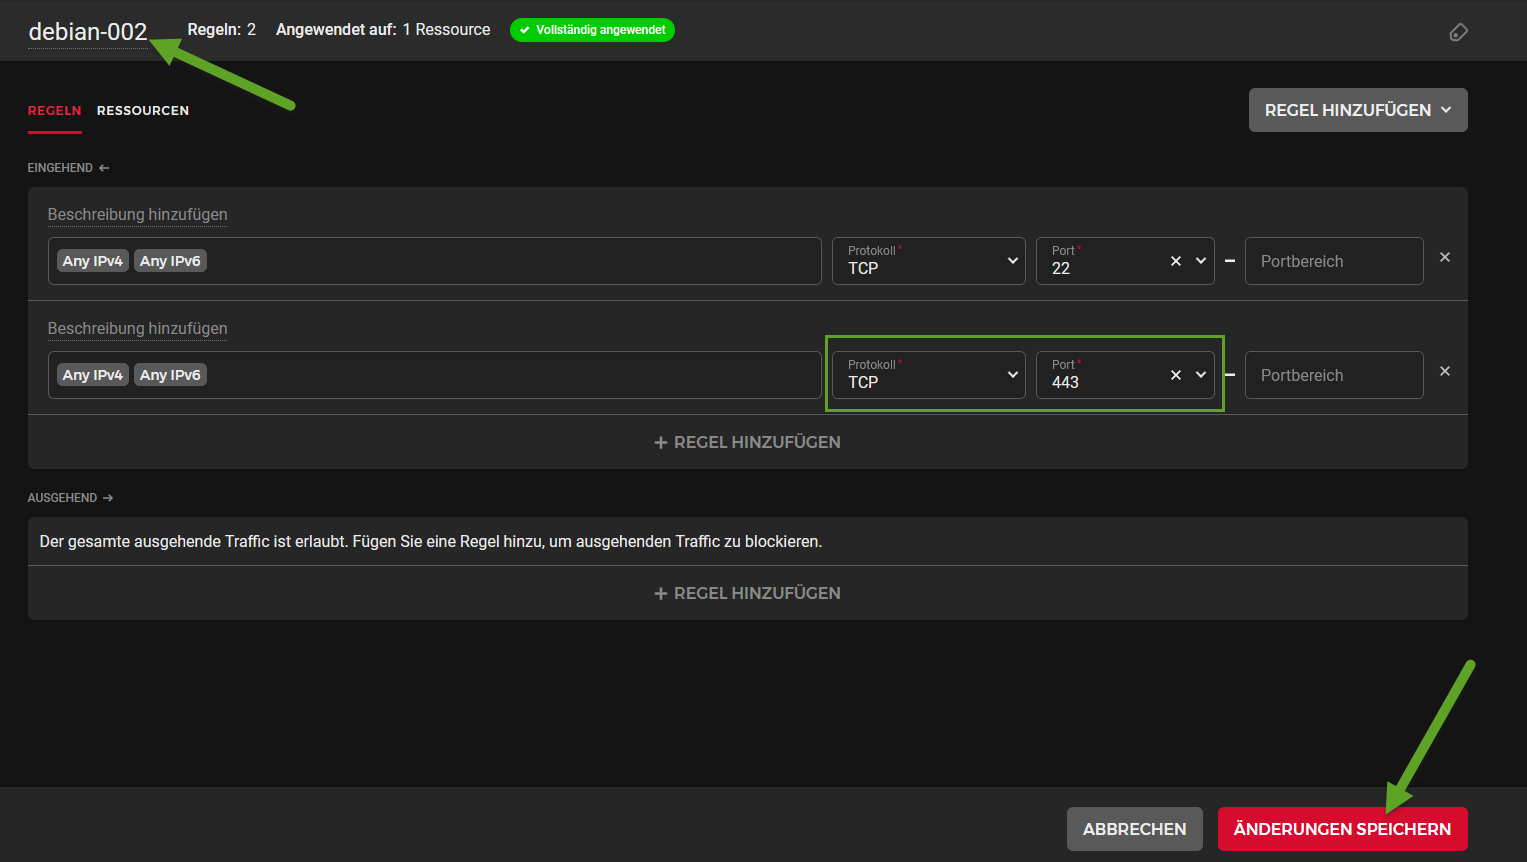
set up Git workflow and push to online private Git repository and publish at Hetznerin the directory of your website, create a local Git repository and commit your files to itgit init -b maingit add .git commit -m "initial commit" on GitHub, create an empty repository called e.g. tkserv commit local files to private respository at GitHubgit remote add origin git@github.com:edwardtanguay/tkserv.gitgit push -u origin main at GitHub, refresh the page, select SSH and then click on the clone icon on your Hetzner machine, go to your projects directory and delete the mainsite directorycd ~/projectsrm -rf mainsitenote that your website is no longer there now (try to) clone the directory into your projects file (you will see that it's not possible since we haven't set up SSH yet)type git clone, paste what you copied from the GitHub site, and add mainsite to itgit clone git@github.com:edwardtanguay/tkserv.git mainsiteif you don't have Git:install it with sudo apt install git try to clone again: git clone git@github.com:edwardtanguay/tkserv.git mainsite you see you get an error because you don't have rights to the private GitHub directory: set up SSHssh-keygen -t ed25519press ENTER for all questions we now need to copy the public key that was just generated and save it at GitHubcd ~/.sshcat id_ed25519.pub copy the outputted text (here in green) go to GitHub, click on your Icon, then Settings and SSH and GPG keys click on New SSH key give your key a name (e.g. the name of the machine where it is used) and paste the public key into the box at GitHub again, select SSH and then click on the clone icon type git clone, paste what you copied from the GitHub site, and add mainsite to itgit clone git@github.com:edwardtanguay/tkserv.git mainsite this time it can access your GitHub repository and clones your files into mainsite refresh your browser and you will see that your locally developed site has been deployed live at your domain: now to develop and deploy your sitemake local changes push to GitHub log in on your Hetzner machine go to ~/projects/mainsite type git pull and your changes will be live Secure your website so that users access it via HTTPS instead of HTTP we will use certbot which uses Let's Encrypt to secure your website with HTTPS for free update apt install snapsudo apt install snapdsudo snap install core install certbotsudo snap install --classic certbot prepare the certbot commandsudo ln -s /snap/bin/certbot /usr/bin/certbotsudo snap set certbot trust-plugin-with-root=ok install and configure https in nginxsudo certbot --nginxenter your email to be notifed about security updates or expiration dates, etc. type in name of your domain, e.g. tkserv.eu note the text that certbot added to your nginx config filecat /etc/nginx/conf.d/mainsite.conf: refresh your browser and see that your http site transfers automatically to https: Set up firewall and allow HTTPS traffic your Hetzner machine should have a firewall so it doesn't allow all incoming traffic on all portslet's set up a firewall and see that it blocks access to our https site then we will allow traffic on the https port 443 click Firewalls and Firewall erstellen leave the suggested 22 port and click the Firewall erstellen button refresh your page and notice that https is blocked now go back in your firewallchange the name of the firewall to match the name of your machinenormally you'll have a separate firewall corresponding to each machine add TCP 443 which means that incoming HTTPS traffic will be allowed click the button to save the changes: refresh your browser to see that while your firewall blocks unwanted traffic, it allows https traffic to display your site: